
Coming From Alexa or Google Home? Start Here
Most people arrive at Home Assistant from an Echo on the counter or a Nest hub in the hallway. I did too. Alexa and Google Home are good at what they’re built for. The trouble starts when you want something they weren’t built for at all.
Local Control vs. Someone Else’s Servers
Ask Alexa to turn off a lamp and that request leaves your house, gets processed on Amazon’s servers, and comes back. Works beautifully — until your internet hiccups, and then your smart home is a room full of expensive plastic. Home Assistant reverses that. Automations, device states, and triggers all run on the box in your closet. No round trip. No dependency on a server farm you don’t control.
One honest clarification, because plenty of guides gloss over it: “local” depends on the device. A Zigbee sensor talking to a USB adapter in your hub is fully local. A cloud-connected brand you add through its official integration still reaches out to that company’s servers, and it’ll stop working in an outage just like it did before. Home Assistant doesn’t magically make cloud devices local — it lets you choose local ones and gives you a single place to run everything. That’s why the buying advice later in this guide matters as much as the setup steps.
Simple Commands vs. Automations You Actually Design
Alexa and Google think in commands. Say a phrase, get an action. Even their routines are a short fixed sequence behind a single trigger. Home Assistant thinks in layers: triggers, conditions, and actions you stack however you want. Porch light that shifts warmer after sunset, but only on weeknights, and only when someone’s phone says they’re home? That’s an ordinary Tuesday here and simply isn’t available on a stock Echo. The constraint stops being the software and starts being which sensors you own.
Device Compatibility Without a Partner Program
Alexa and Google run certification programs. Devices that never got certified, or whose makers stopped paying to stay certified, are locked out. Home Assistant has no such gate: thousands of built-in integrations plus a large community catalog covering brands the big platforms have never acknowledged.
Be realistic, though — some cloud-only gadgets expose no local interface at all, and for those, no amount of open-source goodwill helps. Check before you buy, not after.
Keep Your Echo. Just Move the Brain.
Nobody’s asking you to throw out your speakers. Home Assistant plugs into both assistants as a voice front-end, so you keep saying “Alexa, kitchen lights” while Home Assistant handles the logic underneath. Go to Settings > Voice Assistants, open the Expose tab, and pick which entities — the individual controls and readings your devices provide — each assistant is allowed to see. Home Assistant’s documentation notes this is deliberately opt-in so sensitive things like locks and garage doors aren’t voice-controllable by accident.
Exposed items show up in the Alexa or Google Home app exactly like natively connected devices, including scenes and scripts. With a Home Assistant Cloud subscription it’s roughly a ten-minute job. There’s a free self-hosted route using the Alexa Smart Home Skill and your own cloud function, but that’s a project for a later article, not your first evening.
The honest tradeoff: voice recognition itself still happens on Amazon’s or Google’s servers when you use their speakers, and as of 2026 they remain better than Home Assistant’s built-in Assist at natural language, music, and timers. What changes is everything downstream. The command lands on hardware you own, fires automations no certification program would ever approve, and reaches devices Alexa was never built to talk to.
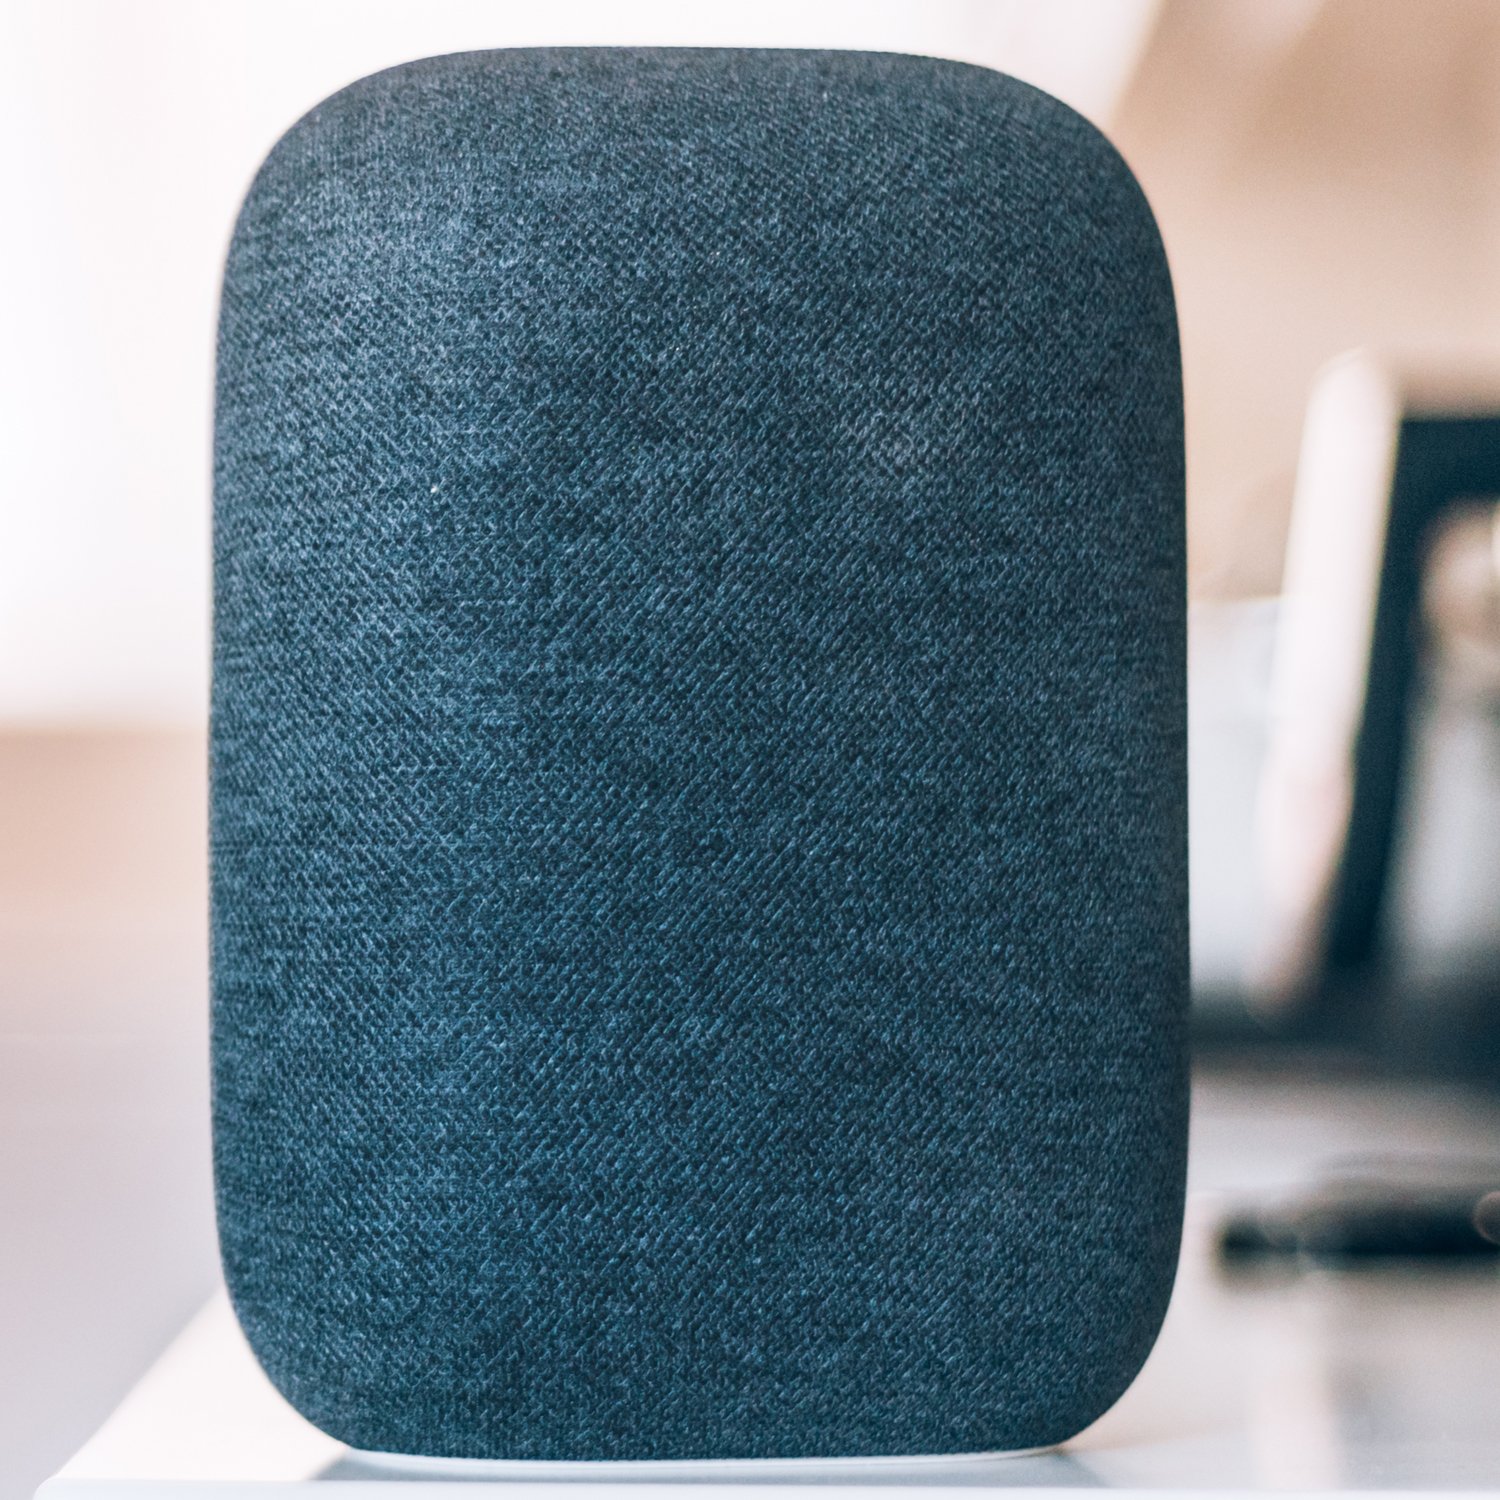
Alexa / Google Home | Home Assistant | |
|---|---|---|
Where the logic runs | Amazon or Google’s cloud servers | Locally, on hardware you own |
If your internet drops | Voice commands and routines stop | Local automations keep running |
Automation depth | Routines: one trigger, a fixed sequence | Layered triggers, conditions, and actions |
Certified “Works With” partner lists | Thousands of integrations, plus community-built ones | |
Your usage data | Processed by the manufacturer | Stays on your network unless you expose it |
Voice recognition | Excellent — still the category leader | Assist is improving, but not yet equal |
Who maintains it | Amazon or Google | You (with a very large community behind you) |

Master Alexa Smart Home Automation: Essential Tips & Tricks
What About Homey?
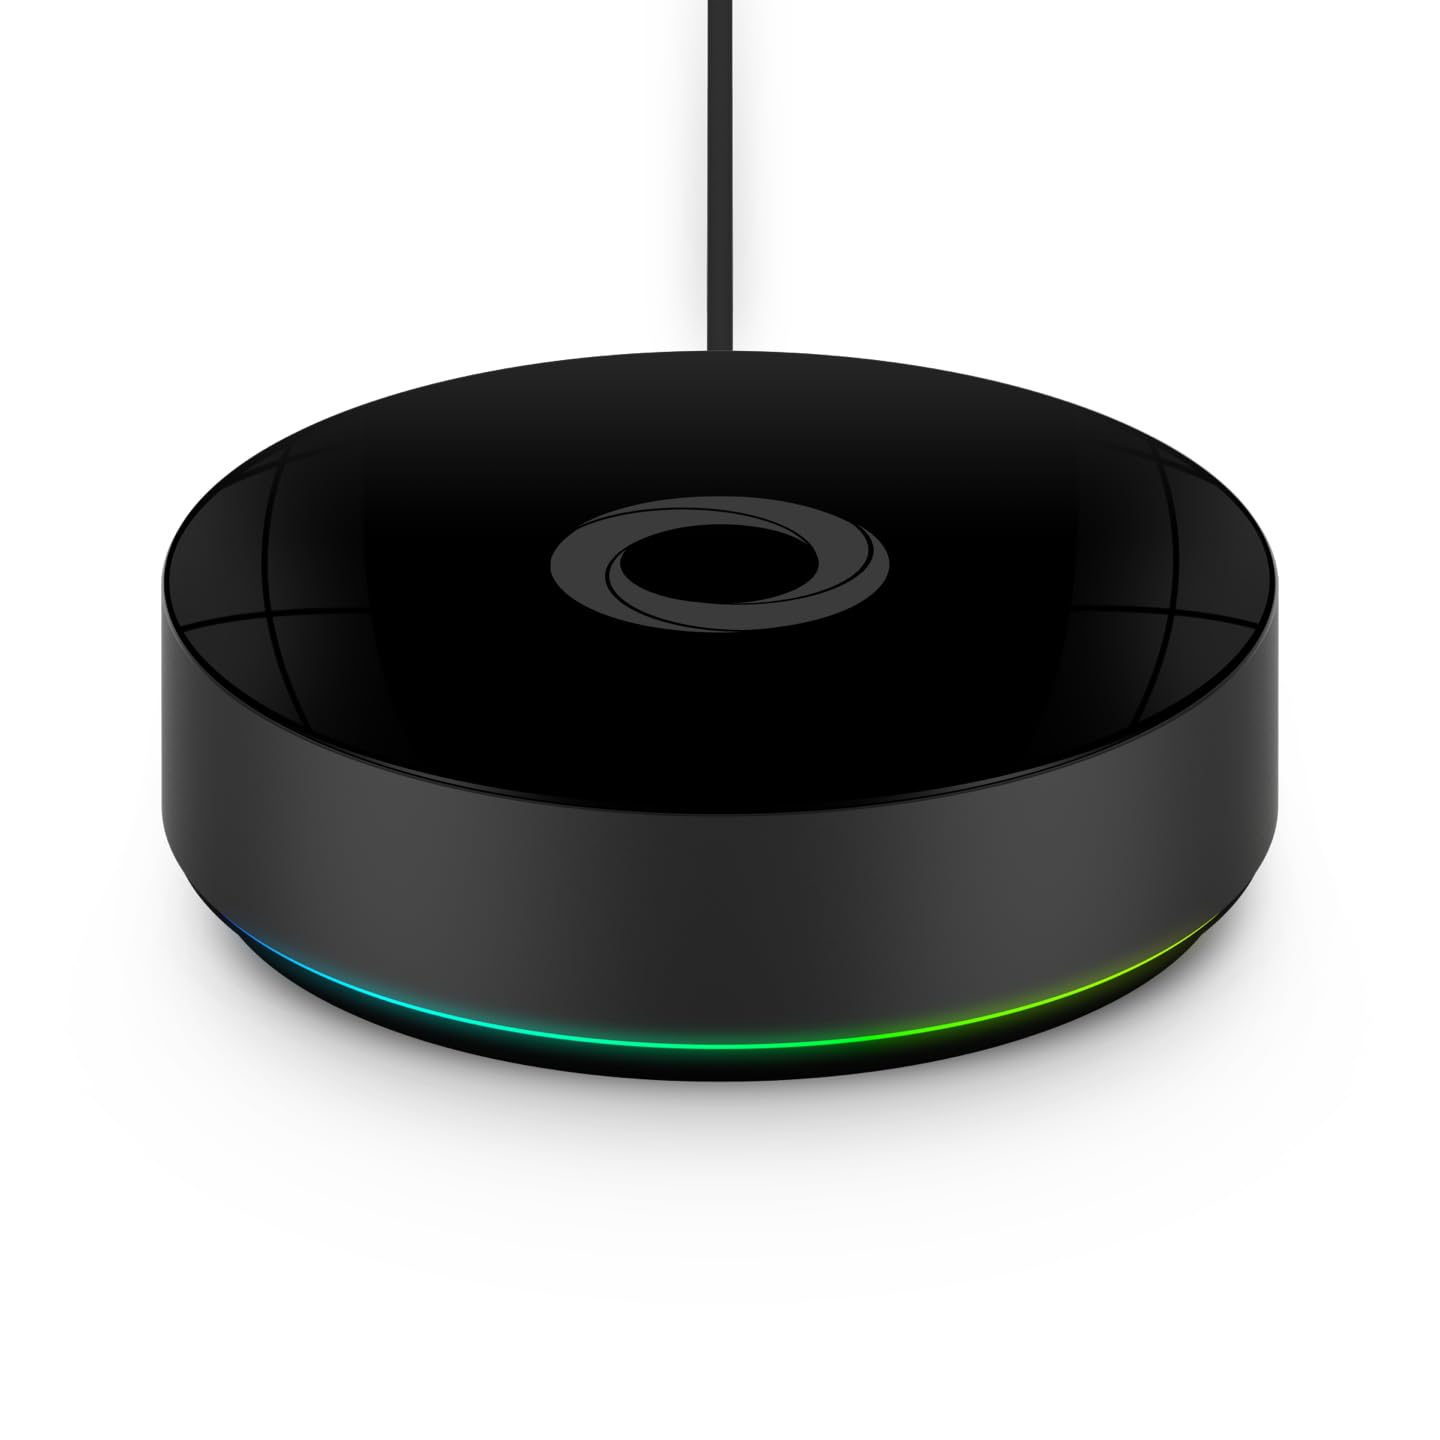
Homey Pro, from the Dutch company Athom, is the polished alternative worth knowing about before you commit. It’s a single finished hub with Zigbee, Z-Wave, Matter, Thread, Bluetooth LE, infrared, 433MHz, and Wi-Fi radios all built in — no USB adapters to source. Athom says its app catalog covers more than 50,000 products across 1,000-plus brands. Automations use a visual Flow editor, everything processes locally first, and remote access is included without a subscription.
Buy Homey if you want a working smart home the day the box arrives and never want to think about hardware again. The Flow builder is friendlier than anything code-adjacent, the whole product feels finished, and if your time is worth more than the money you’d save, it earns its price.
Choose Home Assistant if you want the ceiling removed. The software costs nothing, so you’re only ever buying generic hardware — possibly hardware you already own. The integration library reaches further than any single company’s catalog, and nothing about your setup is hostage to one manufacturer’s roadmap. Athom raised Homey pricing in 2026 citing component costs; if that happens again, it’s their call to make. With Home Assistant, hardware and timing are yours.
Worth saying plainly: Home Assistant has its own lock-in. Build sixty automations here and moving elsewhere means rebuilding them. The difference is that nobody can revoke your access, discontinue your hub, or put your existing setup behind a new paywall.

Last updated on 2026-09-17
Home Assistant | Homey Pro | |
|---|---|---|
Software cost | Free and open-source | Included with the hardware, closed-source |
Hardware | Your choice, including gear you own | Official Homey hub only |
Radios included | None — add USB adapters | Zigbee, Z-Wave, Matter, Thread, BLE, IR, Wi-Fi, 433MHz in one box |
Automation builder | Visual editor, with YAML available underneath | Visual “Flow” builder |
Integrations | Thousands, plus community-built | 50,000+ products from 1,000+ brands (Athom’s figure) |
Remote access | Subscription or free DIY | Included, no subscription |
Ceiling | Effectively none — fully scriptable | Bounded by the official app catalog |
Setup time | A weekend to get comfortable | Ships configured — far less |
Best for | People who want control | People who want it finished |
Last updated on 2026-09-16
Choosing Your Hardware
Home Assistant needs one machine that stays on around the clock. It doesn’t need to be fast. It does need to be the right shape for where you’re headed, because the wrong pick means a rebuild in six months.
A realistic starter kit is three things: the host machine, one USB radio adapter, and two or three smart plugs to test with. Whether that lands closer to the price of a nice dinner or a car payment depends almost entirely on the first choice below.
Home Assistant Green | Raspberry Pi 4/5 | Refurbished Mini PC | |
|---|---|---|---|
Best for | Getting running tonight | Tinkerers with a Pi already | Anyone planning to grow |
Setup effort | Plug in, open browser | Flash a card, assemble | Install OS yourself |
Power draw | About 3 watts | Very low | Roughly 7–18 watts idle |
Room to grow | Fixed — can’t upgrade later | Limited by RAM | Handles cameras and local voice |
Main risk | Outgrowing it in a year | SD card failure under constant writes | Slightly higher power bill |
Option A: Home Assistant Green
The official hub, built by the same team that makes the software. Plug in power and ethernet and you’re at a setup screen in minutes. It uses eMMC — durable soldered-on storage, not a memory card — so it won’t wear out the way cheap SD cards do, and it draws about three watts. Nabu Casa raised the price twice during 2026 on component costs, so it’s no longer the bargain entry point it launched as. Its real limitation is permanent: you can’t add processing power later, so local camera AI or heavy voice work will outgrow it.
| Preview | Product | Rating | |
|---|---|---|---|
 | Home Assistant Green | Smart Home hub with Advanced Automation | Official Home Assistant Hardware* | CHECK PRICE |
Last updated on 2026-09-16
Option B: Raspberry Pi 4 or 5
Silent, tiny, sips power. Get at least 2GB of RAM; 4GB if you plan to grow. Here’s the part that bites people: Home Assistant writes to storage constantly, logging sensor readings every few seconds, and inexpensive MicroSD cards fail under that load. Not maybe — eventually. It usually shows up as a corrupted database or a Pi that won’t boot after a power blip. Buy an A2-rated card (a speed class built for frequent small writes) at 32GB or larger, or better, attach an external SSD. Add up board, power supply, case, and decent storage and you’re often at mini PC money anyway.
| Preview | Product | Rating | |
|---|---|---|---|
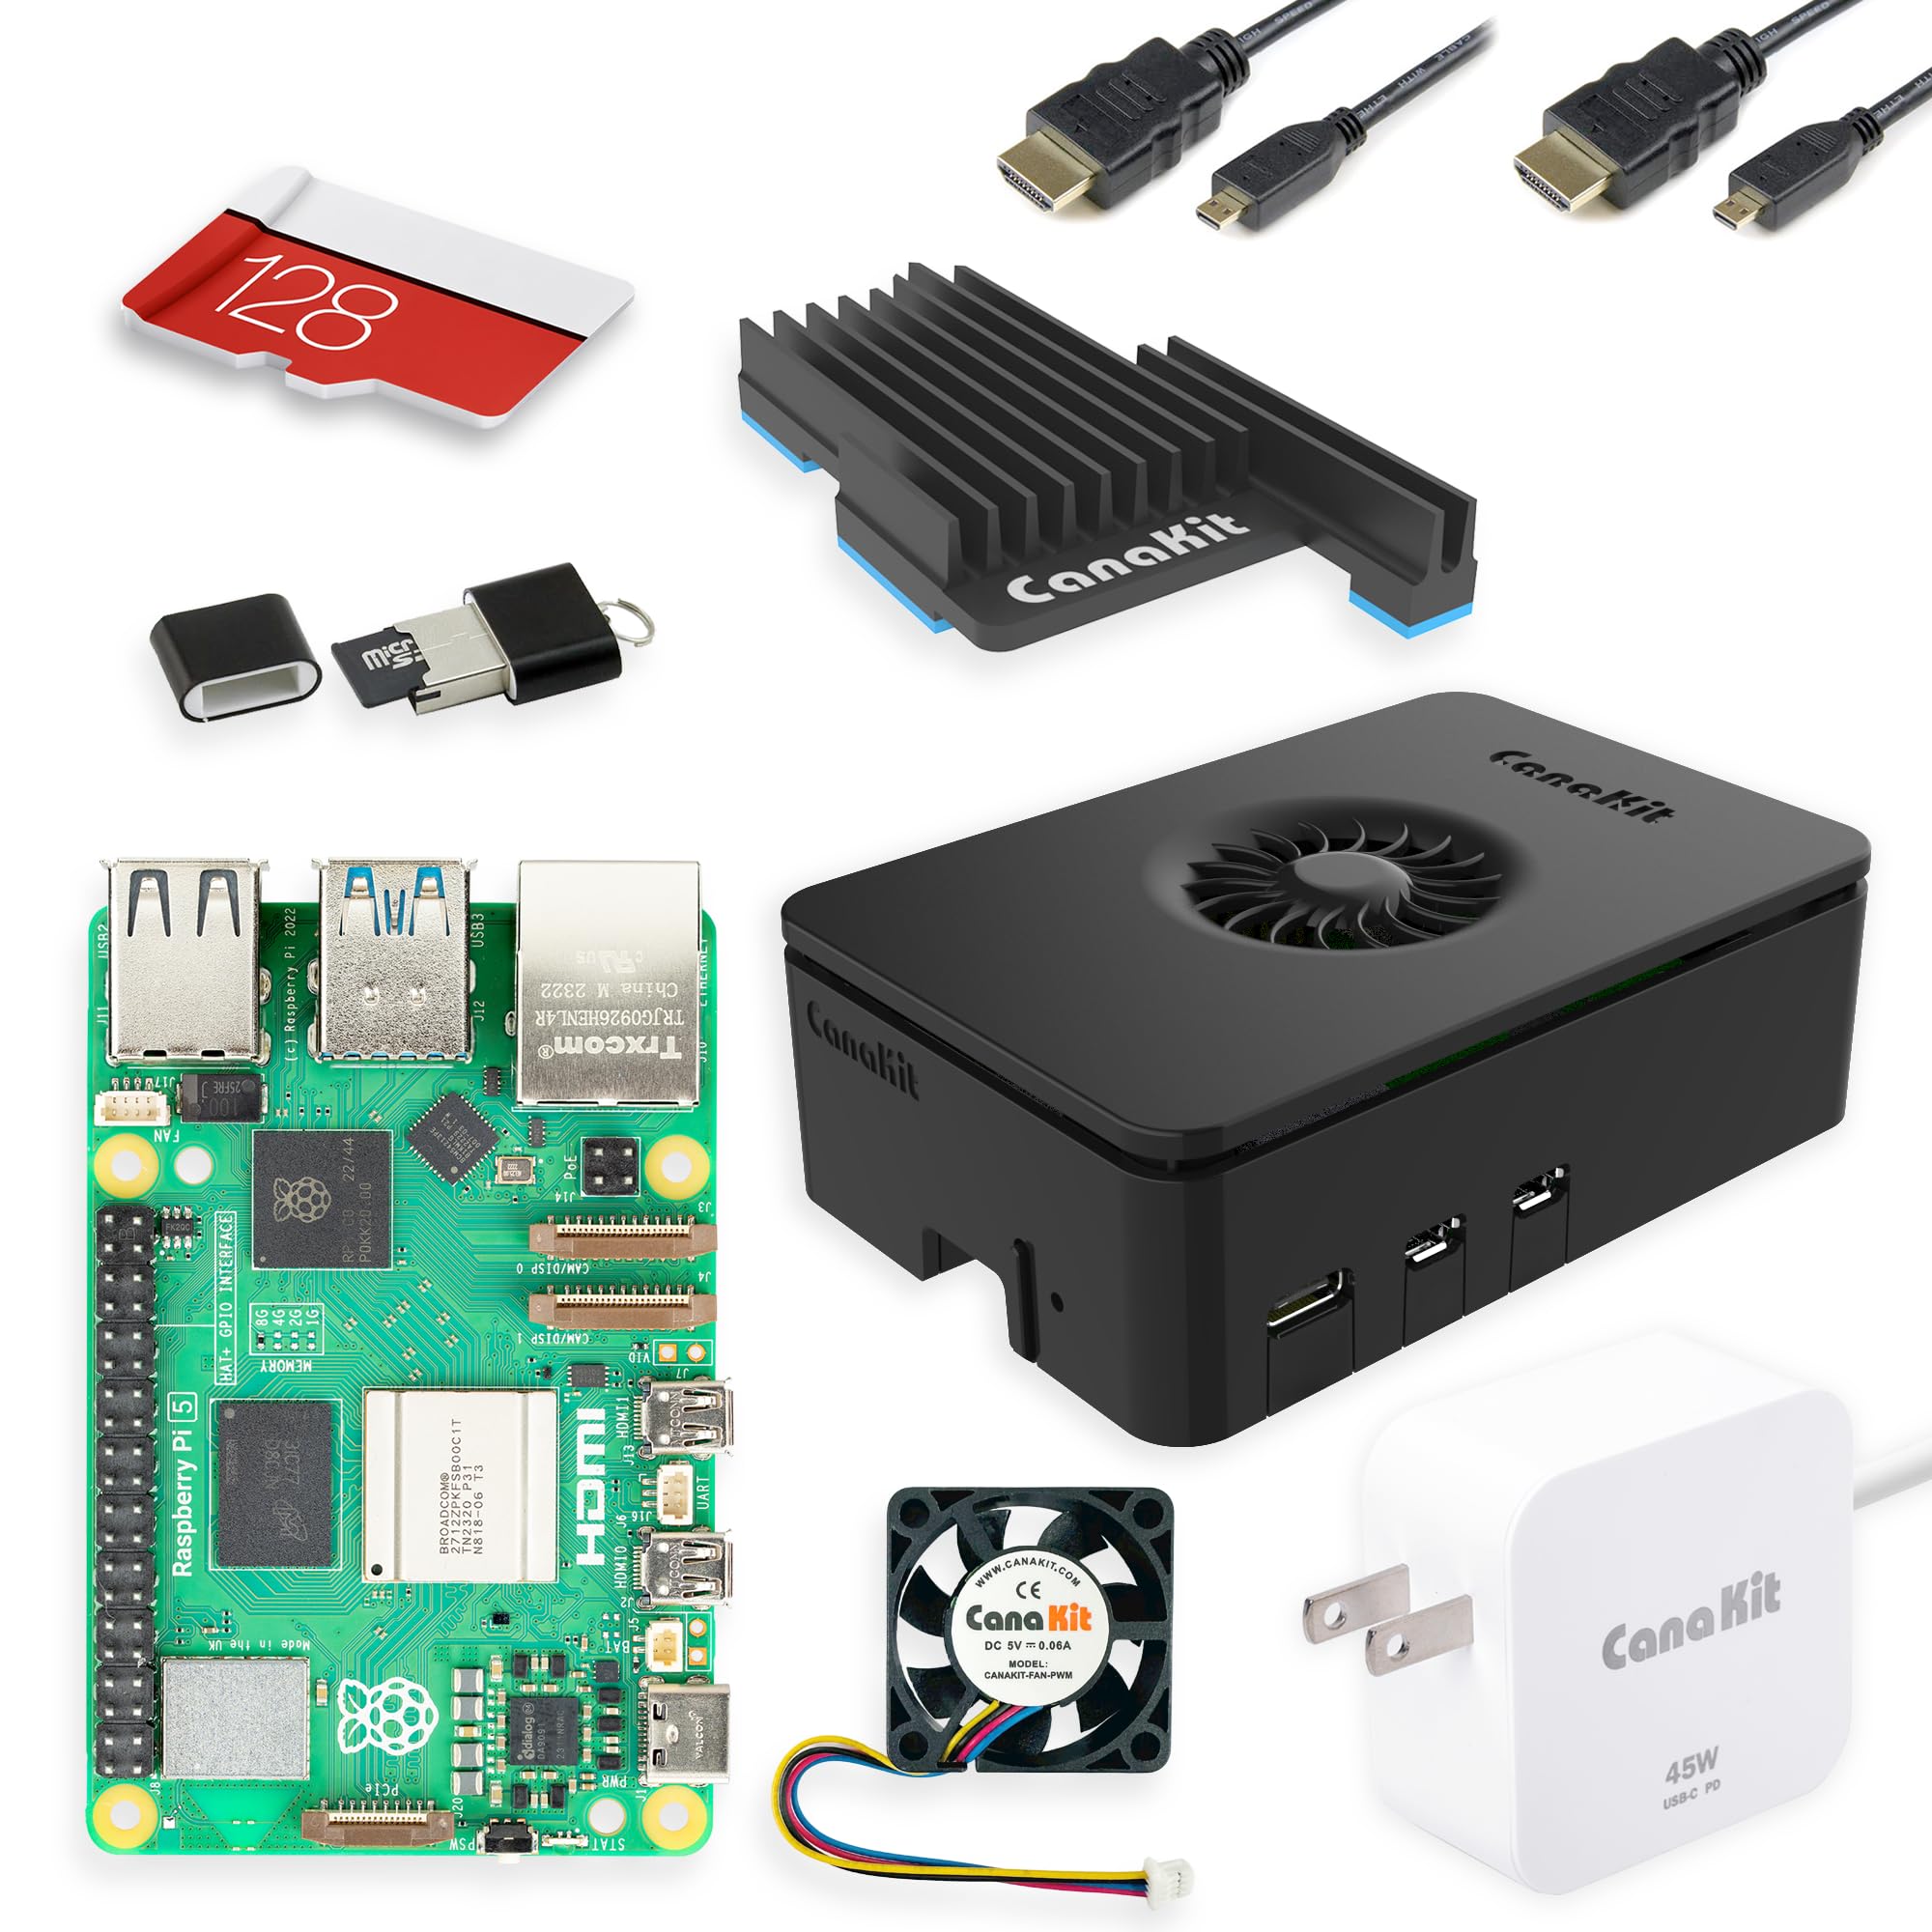 | CanaKit Raspberry Pi 5 Starter Kit PRO – Turbine Black (128GB Edition) (8GB RAM)* | CHECK PRICE |
Last updated on 2026-09-20
Option C: Refurbished Mini PC or Intel N100
The value pick for anyone planning to do more than switch lights. A used corporate ThinkCentre or a new N100 box gives you a real NVMe SSD (fast internal storage) and enough memory for local speech recognition and camera AI without stuttering. It costs a little more to run — roughly 7 to 18 watts idle — which works out to a few dollars a year on a typical residential rate.
A mini PC also unlocks virtualization. Rather than dedicating the whole machine, you can run Proxmox VE — free virtualization software — and let Home Assistant share the box with other projects. The community-maintained Proxmox VE Helper Scripts reduce the entire Home Assistant install to a single pasted command, so it’s far less intimidating than it sounds. Docker is another common route. Both deserve their own article, and we’ll link one here when it’s ready.
| Preview | Product | Rating | |
|---|---|---|---|
 | Beelink SER5 PRO Mini PC,AMD Ryzen 5 5500U (6C/12T,up to 4.0 GHz),Mini Computer with 16GB DDR4/480GB… | CHECK PRICE |
Last updated on 2026-09-20
Two Purchases That Prevent Most Problems
A USB extension cable
Don’t plug your Zigbee or Z-Wave adapter directly into the back of the machine. USB 3.0 ports emit broadband radio noise in the 2.4GHz band — the same band Zigbee and Thread use — and Intel documented the effect in a 2012 white paper still hosted by the USB Implementers Forum.
The noise falls inside the wireless device’s own operating range, which means it can’t be filtered out; it just degrades the signal. A three-foot extension cable, with the adapter positioned away from the case, eliminates the problem before you have it.
| Preview | Product | Rating | |
|---|---|---|---|
 | Amazon Basics USB-A 2.0 Extension Cable, Male to Female, 480Mbps Transfer Speed, USB Extender, Extra… | CHECK PRICE |
Last updated on 2026-09-20
A small UPS
Your hub is now a single point of failure, and unlike Amazon’s data center it has no backup power. An entry-level uninterruptible power supply keeps the machine alive through brownouts and gives it a clean shutdown during real outages — which matters most for the Pi and mini PC options, where an abrupt power loss mid-write is exactly how databases get corrupted. It’s the cheapest insurance in the entire build.
| Preview | Product | Rating | |
|---|---|---|---|
 | Anker SOLIX C300 Portable Power Station, 288Wh Solar Generator for Camping* | CHECK PRICE |
Last updated on 2026-09-20
Zigbee, Z-Wave, and Matter: Picking Your Radio
Wi-Fi smart devices are a poor long-term bet. They crowd your router, drain batteries, and usually still phone home. Zigbee, Z-Wave, and Matter build a separate low-power network among your devices, and joining it requires a USB radio adapter on your hub.
Protocol | Recommended Adapter | What It’s Good For |
|---|---|---|
Zigbee | Sonoff Zigbee 3.0 Dongle Plus | Affordable motion sensors, door sensors, smart plugs |
Z-Wave | Zooz 800LR USB Stick | Longer range and stability for locks and wall switches |
Matter / Thread | Home Assistant Connect ZBT-2 | Newer cross-brand standard; one adapter runs Zigbee or Thread, not both |
On Matter specifically: it’s the cross-brand standard everyone agreed to, and it’s the right direction. Implementation quality still varies between manufacturers, and some devices behave better through their native integration than through Matter. Treat it as promising rather than finished, and don’t buy a device solely because the box says Matter.
What to Buy First
Resist the urge to fill a cart. Start with two or three mains-powered Zigbee smart plugs that include energy monitoring. They’re among the cheapest smart devices available, they give you real interactive data on your dashboard the first evening, and because they’re always powered they act as repeaters that strengthen the network for every battery sensor you add later. One purchase, three jobs.
The Mesh Trap Nobody Warns You About
Battery-powered sensors do not extend your network. They report in and go back to sleep. When a sensor at the far end of the house keeps dropping off, the answer isn’t a better sensor — it’s a mains-powered plug or switch positioned between the two, relaying the signal.
Four Words You’ll See Constantly
Learn these now and the rest of the interface stops feeling foreign:
Integration
the software bridge connecting Home Assistant to a brand or service, like Philips Hue or Spotify.
Device
the physical product in your home, such as your living room light fixture.
Entity
one specific control or reading that device offers: brightness, motion status, battery percentage.
State
what an entity is doing right now — “on,” “off,” “72°F.”
You also may be interest in...

Smart Home Protocols: A Comprehensive Guide for 2026
Confused by smart home protocols? This guide explains Wi‑Fi, Zigbee, Z‑Wave, Thread, Matter and MQTT so you can choose the right setup.
Adding Your First Device
Your hub is running, your adapter is plugged in, and Home Assistant currently knows about exactly zero light bulbs. Most guides skip straight past this. Let’s not.
Wi-Fi and Cloud-Connected Brands
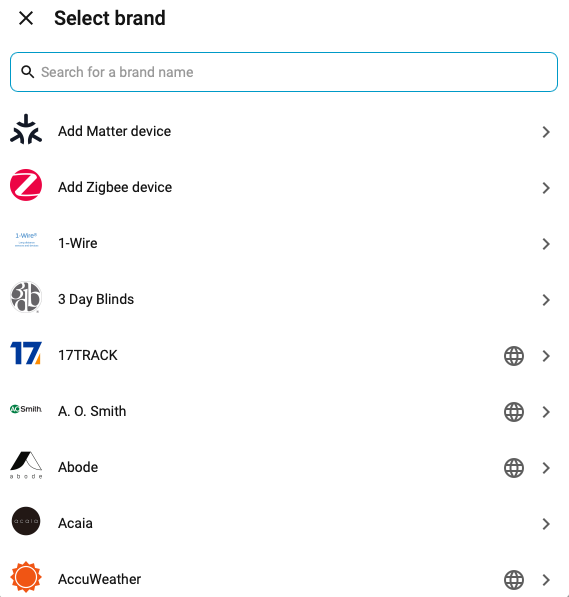
Go to Settings > Devices & Services > Add Integration and search the brand — Philips Hue, Ecobee, TP-Link Kasa, hundreds more. Home Assistant frequently spots these on your network first and flags them as newly discovered before you even search. Follow the prompts, sign in if the brand requires it, and the devices import themselves. Remember the caveat from earlier: these particular devices still depend on their maker’s servers.
Zigbee and Z-Wave Devices
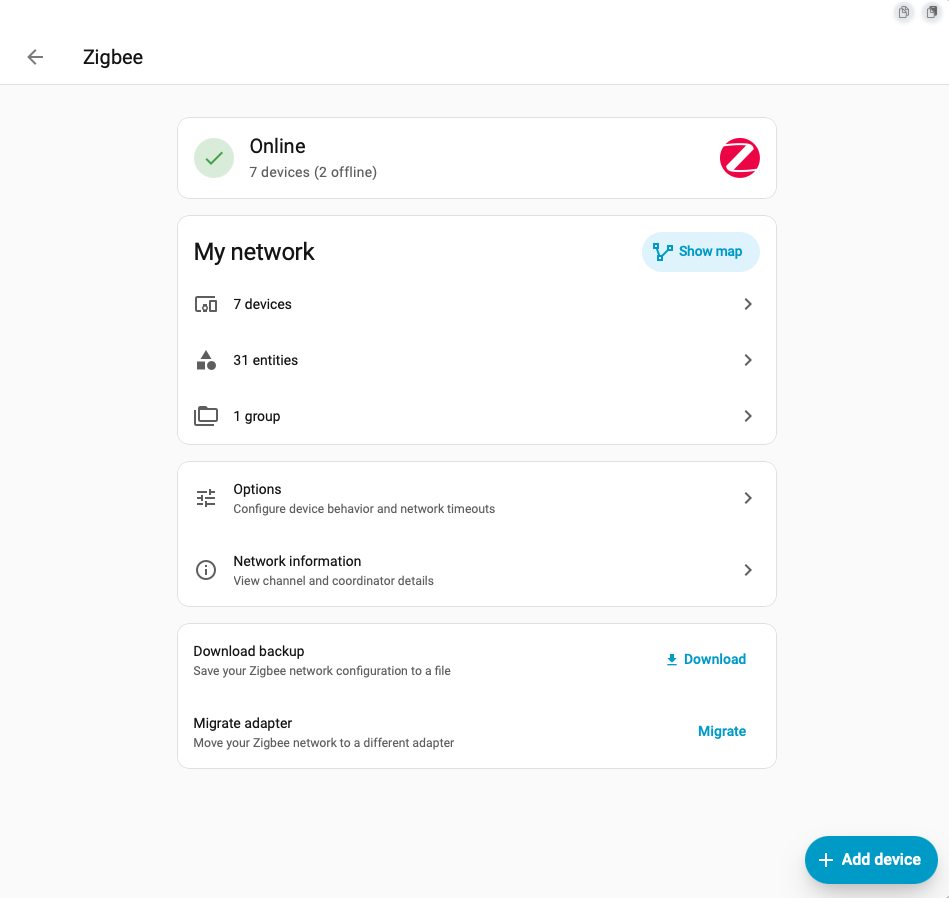
First you set up an integration for the adapter itself. For Zigbee, choose ZHA (Zigbee Home Automation) from the same Add Integration screen — it’s built into Home Assistant and it’s the right starting point. There’s a more powerful alternative called Zigbee2MQTT that requires additional software; worth graduating to eventually, wrong choice for day one.
With ZHA configured, click Add Device on its page, then put your sensor or plug into pairing mode — usually holding a button five to ten seconds until a light blinks. It should appear within a minute.
Confirming It Worked
Open Settings > Devices & Services > Entities and find the new arrival. A healthy device shows a real value — “on,” “68°F,” a battery percentage. If it reads “unavailable,” the usual suspects are distance from the hub or the device not being fully in pairing mode when Home Assistant looked. Move it closer and retry before assuming it’s broken.

- Powerful EFR32MG24 chip. Powered by the advanced EFR32MG24 chip, offering richer resources and higher performance to deliver faster…
- Enhanced Antenna Gain. Default 3dBi antenna gain, optimized up to 4.5dBi for stronger signal strength and wider coverage, ensures a…
Last updated on 2026-09-20
Building Your First Automation
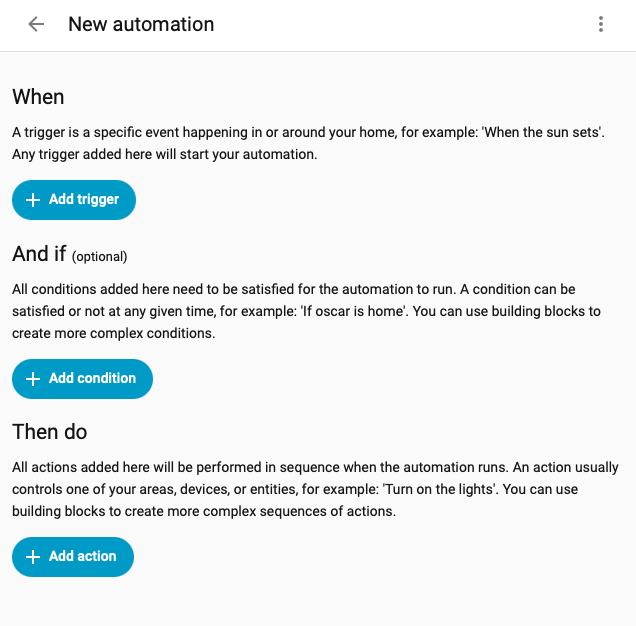
No code required. You pick what should trigger the automation and what should happen.
Method A: From Scratch
Turn on the hallway light when motion fires at night. Go to Settings > Automations & Scenes > Create Automation. Add a motion trigger and select your sensor. Add a time condition set to after sunset, before sunrise. Add an action turning on the hallway light.
Step | What You Set | Live Status |
|---|---|---|
WHEN | Motion detected (hallway sensor) | Currently true |
AND IF | Time is between sunset and sunrise | Currently true |
THEN | Turn on (hallway light) | Runs when both above are true |
Those live status badges beside each condition tell you whether that piece is true right now — which is how you debug an automation that should have fired and didn’t, without guessing.
Method B: Blueprints
Blueprints are automation templates the community has already built and tested. Paste in a link, pick your devices from dropdowns, save. No logic to write, and a good way to learn by reading someone else’s structure.
Dashboards Without Design Skills
Click Add Card, choose By Entity, pick a room or device. Home Assistant renders live previews using your actual data — for a thermostat it offers dials, history graphs, and simple switches automatically. Choose what looks right and save. Rooms populate as you assign devices to areas, which the setup flow prompts you to do as you add them.
Reaching Your Home From Anywhere
Out of the box, Home Assistant only answers on your home Wi-Fi. Checking a camera from the office or getting an alert while you’re away requires remote access, and how you set it up matters more than most guides admit.
Never expose your Home Assistant login directly to the internet through a plain router port. An unencrypted login screen on the open internet gets found and hammered by automated scanners, usually within days.
Home Assistant Cloud (Nabu Casa) | DuckDNS + Reverse Proxy | |
|---|---|---|
Cost | Monthly or annual subscription | Free |
Setup time | About two minutes | An evening, if it goes well |
Networking skill needed | None | Comfortable with routers and certificates |
Router ports exposed | None | You configure and secure them |
Alexa & Google support | Included | Not included |
Ongoing upkeep | None — and it funds the project | You renew certificates and patch it |
Common dealbreaker | It’s a subscription | CGNAT from your ISP can block it entirely |
Last updated on 2026-09-16